
Every week, the average household throws away food scraps that could have become garden soil instead of landfill methane. The problem usually isn’t motivation — it’s not knowing which system fits your space and routine. Many people give up on composting because of odor, pests, or slow results. Outdoor tumblers solve most of those problems, and practical outdoor composting tips from The Village Gardener can help you match the right setup to your climate before you commit. Below, you’ll find a clear path from kitchen scrap to finished compost.
Thank you for reading this post, don't forget to subscribe!Quick Answer
Reduce household food waste by separating scraps daily, then composting them in a mix of roughly two to three parts “browns” (dry leaves, cardboard, sawdust) to one part “greens” (fruit and vegetable scraps, coffee grounds, grass clippings). An outdoor tumbler works well for most households because it speeds decomposition through aeration and keeps pests out. Expect finished compost in about four weeks to several months, depending on temperature, moisture, and how often you turn the pile.
Key Takeaways
- Composting diverts food scraps from landfills, where they would otherwise break down without oxygen and produce methane.
- Balance matters more than volume: aim for a 2:1 to 3:1 ratio of browns to greens, and adjust based on smell and texture.
- Outdoor tumblers suit suburban yards and cold climates better than open piles, but they hold less and need consistent moisture checks.
- Foods like meat, dairy, oils, and cooked leftovers should generally be kept out of home compost to avoid odors and pests.
Why Composting Food Scraps Actually Matters
Food waste in a landfill decomposes anaerobically — without oxygen — and that process releases methane, a potent greenhouse gas. When you compost the same scraps at home with air exposure, the breakdown happens aerobically, which produces far less methane and leaves behind a soil amendment you can use. That’s the core environmental argument, but the practical payoff is just as real: you stop hauling heavy trash bags, you build healthier soil, and you get a free supply of compost for garden beds or potted plants.
The key limitation is that home composting doesn’t eliminate all food waste. Bones, large amounts of oil, and pet waste don’t belong in most backyard systems. So composting is one piece of a bigger strategy that includes meal planning and proper food storage, not a complete replacement for reducing waste at the source.
Which Composting Method Fits Your Household?
The right method depends on your space, climate, and how much effort you’re willing to put in. Below is a practical comparison of the three most common home options.
| Method | Best For | Typical Timeline | Main Trade-Off |
|---|---|---|---|
| Outdoor tumbler | Small to medium yards, cold climates, pest concerns | 4 weeks to 3 months | Limited capacity; needs manual turning and moisture checks |
| Open pile or bin | Larger yards with space and steady yard waste | 3 to 12 months | Slower; more vulnerable to pests, weather, and odors |
| Indoor worm bin | Apartments, small homes, year-round composting | 2 to 4 months | Not suitable for large volumes; requires worm care |
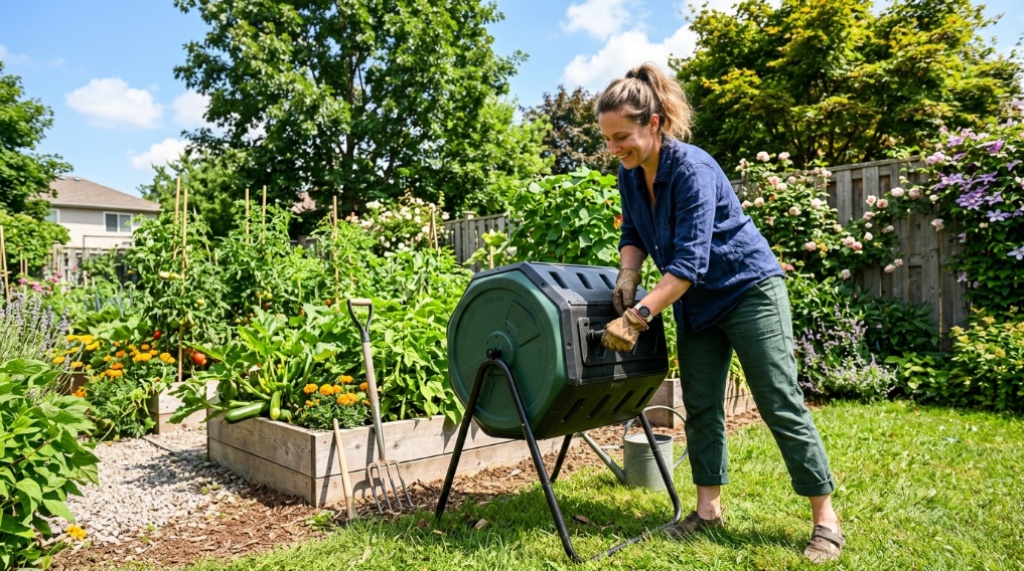
Tumblers win for most suburban households because they contain the material, are easy to turn, and hold up through winter better than open piles. The catch is capacity: a typical tumbler fills quickly if you’re composting all your kitchen scraps plus yard waste, so many families run a tumbler alongside a separate leaf pile or a second bin.
What to Compost and What to Leave Out
Getting this list right prevents most of the problems beginners run into — smells, rodents, and piles that never seem to break down.
Safe to Compost
- Fruit and vegetable scraps, peels, and cores
- Coffee grounds and paper filters
- Tea leaves and paper tea bags (remove staples)
- Crushed eggshells
- Dry leaves, grass clippings, and plant trimmings
- Shredded plain cardboard and newspaper
- Sawdust from untreated wood
Keep Out of Home Compost
- Meat, fish, and bones — attract pests and create odor
- Dairy products — break down slowly and smell
- Oils, grease, and fatty leftovers
- Pet waste — can carry pathogens
- Diseased plants — may spread problems to your garden
- Chemically treated wood or glossy printed paper
If you want to compost meat and dairy, that requires a specialized system like bokashi or a commercial hot-composting service. Standard backyard tumblers aren’t built for it, After prepping your fresh ingredients for sustainable cooking, you might also need compact kitchen upgrades like an Affordable Toaster for Small Apartments.
Step-by-Step: From Kitchen Scrap to Finished Compost
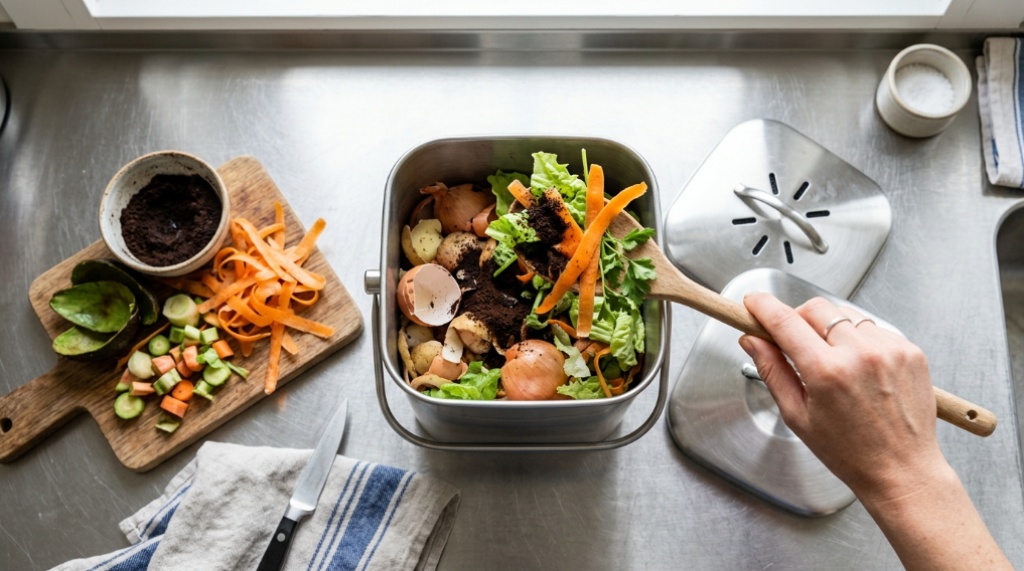
- Collect scraps in a countertop container. A small lidded bin with a charcoal filter keeps odors down between trips outside.
- Add scraps to your tumbler in layers. Alternate greens with a handful of browns each time you add kitchen waste. This keeps the ratio balanced without measuring.
- Turn the tumbler every few days. Aeration is what separates fast composting from a smelly, slow pile. Twice a week is a reasonable minimum.
- Check moisture. The contents should feel like a wrung-out sponge. Add water if it’s dusty and dry; add dry browns if it’s soggy.
- Watch for warning signs. A rotten smell means too many greens or too little air. A dry, inactive pile means too few greens or not enough moisture.
- Harvest when it looks like soil. Finished compost is dark, crumbly, and smells earthy — not like rotting food.
Common Mistakes That Stall a Compost Pile
Most failed compost piles come down to a handful of fixable issues. Here are the most frequent ones and how to correct them.
- Adding only kitchen scraps. Greens alone turn slimy and smelly. Always balance with browns.
- Letting the pile dry out. Composting is a microbial process, and microbes need moisture. Check and adjust regularly.
- Never turning the tumbler. Without aeration, decomposition slows dramatically and odors build.
- Adding large pieces whole. Chop or break up scraps — smaller pieces break down faster and more evenly.
- Ignoring winter. Cold temperatures slow the process but don’t kill it. Insulated tumblers or moving the bin to a sunny spot helps.
Composting in Cold Climates: What Changes
If you live somewhere with real winters, your composting season doesn’t have to end in October. An outdoor tumbler retains more heat than an open pile because the enclosed design holds warmth generated by microbial activity. You’ll still see slower breakdown in freezing temperatures, and the pile may freeze solid during the coldest weeks. The practical approach is to keep adding material through winter, turn whenever it’s thawed and workable, and expect the bulk of the decomposition to happen in spring.
If you want to keep composting actively through winter, a worm bin indoors is a reasonable companion system — it handles kitchen scraps year-round while your outdoor tumbler rests.
Frequently Asked Questions
How long does it take to get finished compost?
With an actively managed outdoor tumbler, expect finished compost in roughly four weeks to three months. Open piles typically take three to twelve months. Temperature, moisture, material size, and turning frequency all affect the timeline.
Does composting smell bad?
A properly balanced pile shouldn’t smell. If yours does, you’re likely short on browns or not turning it enough. Add dry material like leaves or shredded cardboard, turn thoroughly, and the smell usually resolves within a few days.
Can I compost in a small yard or on a patio?
Yes. A compact tumbler or an indoor worm bin both work in small spaces. Tumblers need at least a small outdoor area with some airflow, while worm bins can live indoors under a sink or in a closet.
Do I need to add worms to a tumbler?
No. Tumblers rely on naturally occurring microbes and the heat generated by aerobic decomposition. Worms are used in vermicomposting, which is a separate method designed to handle kitchen scraps at lower temperatures.
What can I do with finished compost?
Mix it into garden beds, top-dress lawns, use it as potting soil amendment, or spread it around shrubs and trees. Finished compost improves soil structure, water retention, and nutrient availability.
Conclusion
Reducing household food waste through composting comes down to three things: separating scraps consistently, balancing greens with browns, and choosing a system that fits your space and climate. An outdoor tumbler handles most of the heavy lifting for suburban households — it’s pest-resistant, faster than an open pile, and manageable year-round with a bit of attention. Start small, fix problems as they appear, and let the pile tell you what it needs.