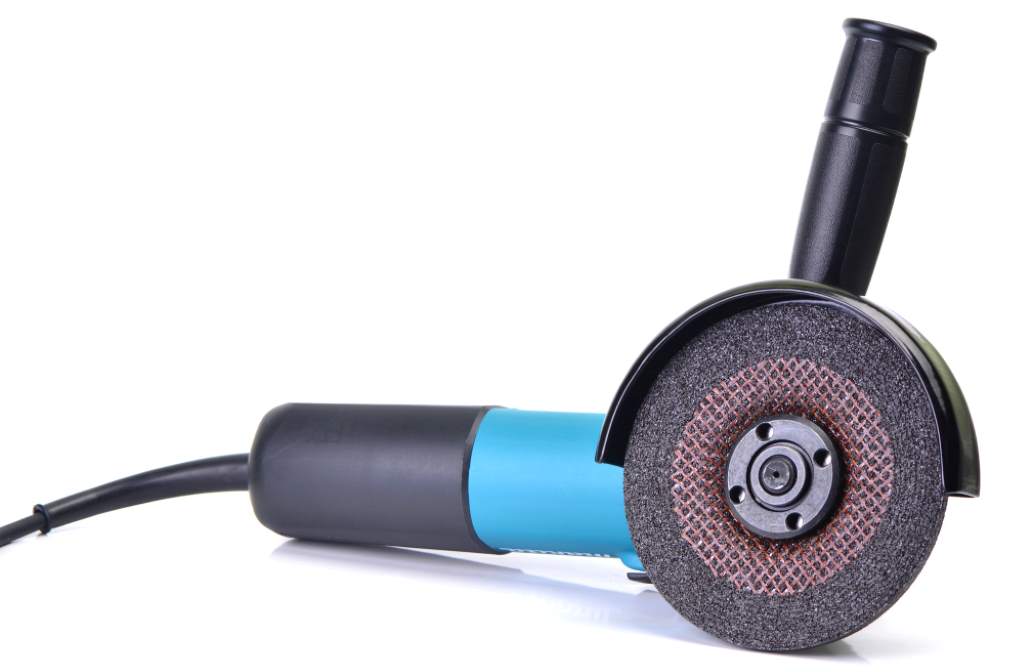
Angle grinders are versatile and powerful tools found in many workshops and garages. Whether you’re cutting, grinding, or polishing, these handheld devices make heavy-duty jobs easier. However, like any power tool, angle grinders are prone to wear and tear. Common issues such as overheating, motor failure, or irregular performance can disrupt your workflow and delay your projects.
Thank you for reading this post, don't forget to subscribe!Instead of replacing your tool or running to a repair shop immediately, you can often perform a DIY angle grinder repair using a few basic tools and troubleshooting techniques. In this guide, we’ll walk you through step-by-step solutions for fixing overheating problems, motor issues, worn-out brushes, and more.
Why Does an Angle Grinder Fail?
Before diving into the repairs, it’s important to understand why angle grinders stop working. Here are some common reasons:
- Overuse or prolonged operation without breaks
- Dust buildup or clogged vents
- Faulty or worn-out carbon brushes
- Damaged armature or field coil
- Loose or burnt wiring
- Overloaded circuits or low voltage
- Using the wrong disc for the job
Understanding these problems helps prevent future damage and improves the life span of your grinder.

Tools You’ll Need for DIY Repairs
To safely inspect and repair your angle grinder, gather the following tools:
- Screwdrivers (flathead and Phillips)
- Multimeter (for electrical testing)
- Replacement carbon brushes (specific to your grinder model)
- Compressed air or soft brush (for cleaning dust)
- Electrical tape or heat shrink tubing
- Lubricant or grease (for bearings and gears)
- Safety gloves and goggles
1. How to Fix an Overheating Angle Grinder
Overheating is one of the most frequent issues in angle grinders. It can cause tool failure or even pose a safety risk if left unaddressed.
Causes of Overheating:
- Prolonged use without breaks
- Blocked air vents
- Dull or wrong disc creating resistance
- Internal dust buildup
- Failing motor components
Step-by-Step Fix:
- Unplug the Grinder: Always disconnect from power before opening.
- Clean the Vents: Use a soft brush or compressed air to clean the air intake vents.
- Inspect Internal Dust: Remove the outer casing. Check for dust or debris inside and around the motor.
- Check Disc Fitment: Ensure you’re using the right disc type and size.
- Inspect Brushes and Armature: Worn brushes or a burnt armature may cause excessive heat.
- Allow Cooling Breaks: In future use, give the grinder regular breaks to cool down.
If your grinder continues to overheat despite cleaning and breaks, proceed to the next section to inspect motor components.
2. Replacing Carbon Brushes in an Angle Grinder
Worn-out carbon brushes are one of the most common reasons an angle grinder stops working or runs erratically. Most angle grinders are equipped with replaceable brushes.
Signs of Worn Brushes:
- Loss of power or speed
- Sparking inside the motor housing
- Grinder stops suddenly after starting
- Unusual smell or noise
How to Replace:
- Open Brush Access Panel: This is typically at the rear or side of the grinder.
- Remove the Old Brushes: Gently disconnect and pull them out.
- Install New Brushes: Insert new brushes in the same orientation.
- Break-in Period: Let the grinder run for a few minutes without load to seat the brushes properly.
Ensure you’re using OEM parts or compatible replacements to avoid damage.
3. Diagnosing Motor and Armature Problems
If your angle grinder still doesn’t work after replacing brushes and cleaning, the motor or armature may be faulty.
Symptoms of a Bad Motor:
- Burning smell
- Loud humming or vibration
- No power even with new brushes
- Internal sparks or smoke
Testing With a Multimeter:
- Test Continuity of Armature Windings: Place the multimeter on the continuity setting. Probe both ends of the windings.
- Check for Shorts: Ensure there’s no continuity between the windings and the armature shaft (this indicates a short circuit).
- Inspect Commutator Surface: If the copper bars are damaged, pitted, or blackened, the armature may need replacing.
Solution:
If your armature or field coil is burnt or damaged, replacing them is more cost-effective than repairing in most consumer-grade grinders. Replacement parts are available online based on your grinder’s model.
4. Gearbox and Bearing Maintenance
Angle grinders often develop noise or resistance due to issues in the gearbox or bearings.
Steps for Maintenance:
- Open the Gear Housing: Usually located at the front of the grinder.
- Clean Old Grease and Debris: Wipe with a clean cloth.
- Inspect Bearings: Spin them manually. If they grind, replace them.
- Apply New Grease: Use high-temperature grease for smooth gear operation.
Proper lubrication reduces wear and extends the grinder’s lifespan.
5. Power Cord and Switch Issues
Sometimes the issue lies not in the motor but in a damaged power cord or faulty switch.
Troubleshooting:
- Visual Inspection: Check the cord for cuts, burn marks, or fraying.
- Multimeter Test: Use a multimeter to test for continuity in the cord and switch.
- Switch Clicking or Sticking: If the switch is sticky or doesn’t click properly, it may be worn out.
Fix:
- Replace Damaged Cord: Ensure the new cord is rated for the same voltage and amperage.
- Replace or Repair Switch: Available in most hardware stores or online.
Important: Always secure wiring using electrical tape or heat-shrink tubes after any replacement.
6. Preventive Maintenance Tips
After repairing your angle grinder, use these preventive care tips to keep it running smoothly:
- Clean the grinder after each use.
- Avoid pressing too hard while grinding.
- Let the tool cool between uses.
- Store in a dry, dust-free place.
- Regularly inspect brushes and replace as needed.
- Use the correct disc for the task.
Try these Tools used for unblocking drains.
When to Replace Instead of Repair
While many issues can be resolved with a DIY repair, there are times when replacing the tool is more economical:
- If motor or armature parts are unavailable
- If repair costs exceed 60% of new tool price
- If the grinder has structural damage
- When it’s over 5–6 years old and out of warranty
Final Thoughts
Fixing an angle grinder on your own might sound daunting, but with the right steps and tools, it’s completely doable. From fixing overheating problems and replacing brushes, to repairing motor or switch issues, most common grinder failures can be handled at home. Performing regular maintenance and knowing how to troubleshoot basic issues not only saves money but also prolongs your tool’s life and ensures safety during use.
If you’ve followed all the above steps and your grinder still isn’t working, consult a professional or consider upgrading to a newer, more efficient model.
FAQs
Q: Why is my angle grinder overheating so quickly?
A: It may be due to clogged vents, overuse, or internal dust buildup. Cleaning and taking breaks can help resolve it.
Q: Can I run an angle grinder with worn carbon brushes?
A: It’s not recommended. Worn brushes can damage the motor and reduce performance.
Q: How long do angle grinders typically last?
A: With proper care, a quality angle grinder can last 5–10 years or more.
Q: Is it safe to open and repair an angle grinder at home?
A: Yes, as long as it’s unplugged and you follow safety precautions.
Need more DIY repair guides or gear recommendations? Stay tuned to our blog for hands-on power tool maintenance tips and updates!
