Dealing with a broken shutoff valve when you need to replace your shower head can seem daunting. However, this common plumbing issue doesn’t have to derail your bathroom renovation plans. Many homeowners face this challenge, and fortunately, there are several practical solutions available. Whether you’re upgrading to a modern rainfall shower head or simply replacing a worn-out fixture, Bixideco offers expert guidance and quality products to help you navigate this plumbing challenge successfully.
Thank you for reading this post, don't forget to subscribe!A broken shutoff valve presents unique complications during shower head replacement. Unlike standard installations, you cannot simply turn off the water supply at the fixture level. This situation requires alternative approaches and careful planning to avoid water damage and ensure a successful installation.
Understanding your options is crucial before beginning any work. Most plumbing experts agree that should you turn off water when replacing shower head, especially when dealing with valve issues. Therefore, exploring various water shutoff methods becomes essential for a safe and effective replacement process.
Understanding Shutoff Valve Problems
Shutoff valves can fail for numerous reasons. Corrosion represents the most common culprit, particularly in older homes with original plumbing fixtures. Additionally, mineral deposits from hard water can cause valves to seize, making them impossible to operate manually.
Age-related wear also contributes to valve failure. Most residential shutoff valves last approximately 10 to 15 years under normal conditions. However, frequent use or poor water quality can significantly reduce their lifespan.
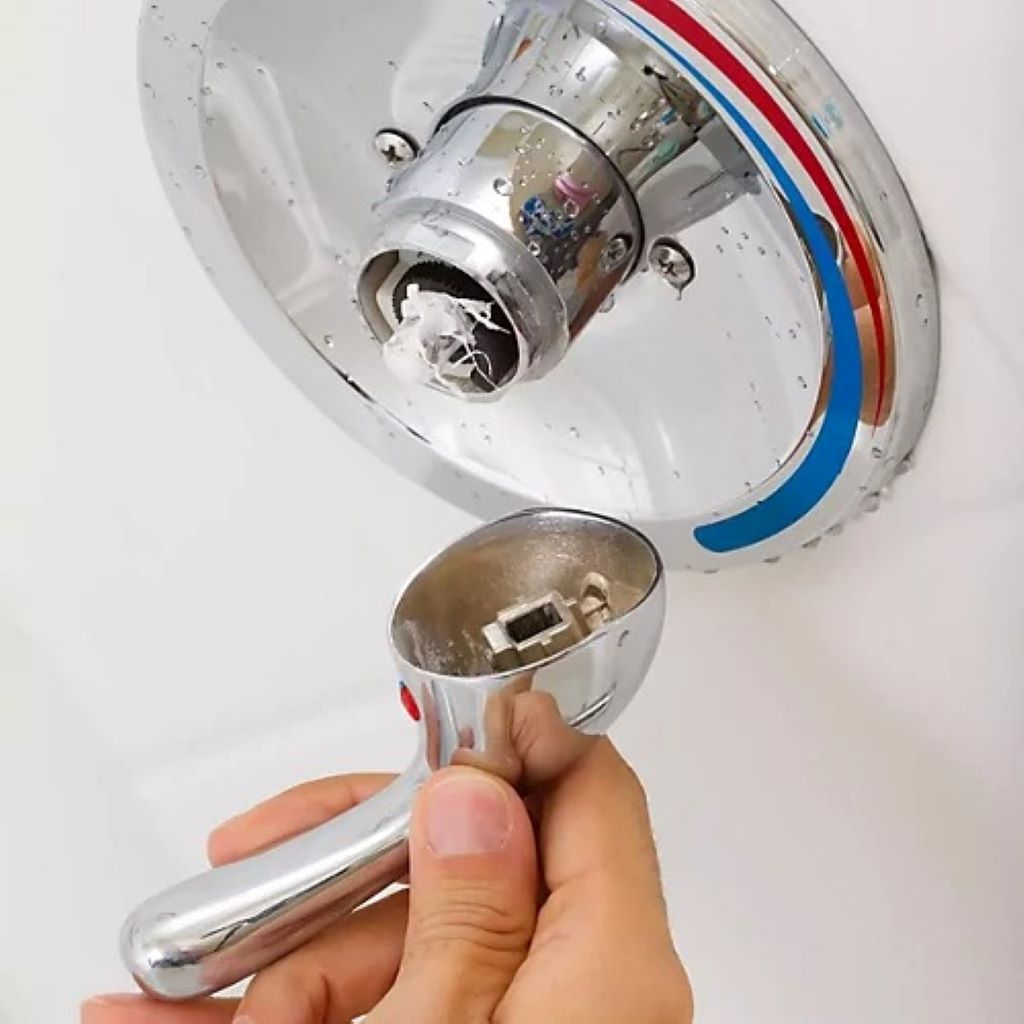
Identifying a broken valve requires careful inspection. Signs include water leaking around the valve stem, inability to turn the handle, or continued water flow despite closing the valve completely. These indicators suggest immediate attention is needed before proceeding with any shower head replacement.
Alternative Water Shutoff Methods
Main Water Line Shutoff
The most reliable solution involves shutting off water at the main supply line. This approach guarantees complete water cessation throughout your home. Locate your main shutoff valve, typically found near the water meter or where the main line enters your house.
Turn the valve clockwise to close it completely. This method provides absolute control over water flow, eliminating any risk of unexpected water pressure during your repair work. However, this approach affects your entire home’s water supply temporarily.
Branch Line Isolation
Some homes feature branch line shutoffs that control water flow to specific bathroom areas. These intermediate shutoffs offer a compromise between fixture-level and main line control. Check your basement, crawl space, or utility room for these additional valves.
Branch line shutoffs allow you to maintain water service to other areas while isolating the problematic shower. This approach minimizes inconvenience while providing necessary safety during replacement work.
Professional Valve Replacement
Consider replacing the broken shutoff valve entirely before installing your new shower head. This comprehensive approach addresses the root problem while preventing future complications. Professional plumbers can quickly install new quarter-turn ball valves that offer superior reliability and longevity.
Modern shutoff valves feature improved designs that resist mineral buildup and corrosion. Investing in quality replacement valves saves money and frustration over time.
Essential Tools and Materials
Gather necessary tools before beginning your project. Basic requirements include adjustable wrenches, pipe thread sealant, plumber’s tape, and replacement shower head components. Additionally, keep towels and buckets nearby to manage residual water flow.
Quality tools make significant differences in project outcomes. Invest in proper adjustable wrenches that fit your specific pipe sizes. Cheap tools often slip or damage fixtures, creating additional problems during installation.
Safety equipment deserves equal attention. Wear safety glasses to protect against debris and water splashes. Non-slip shoes prevent accidents on wet bathroom floors during the replacement process.
Step-by-Step Replacement Process
Preparation Phase
Begin by clearing the shower area completely. Remove all personal items, cleaning supplies, and decorative elements that might interfere with your work. Lay towels on the floor to catch dripping water and protect surfaces.
Test your chosen water shutoff method before removing the old shower head. Confirm that water flow stops completely at the shower location. This verification prevents unexpected flooding during the replacement process.
Removal Process
Start by hand-turning the old shower head counterclockwise. Most shower heads unscrew easily without tools. However, mineral deposits or corrosion may require additional force. Use adjustable wrenches carefully to avoid damaging the shower arm threads.
Apply penetrating oil to stubborn connections and allow several minutes for penetration. This approach often loosens corroded threads without excessive force. Patience during this step prevents costly damage to underlying plumbing components.
Clean the shower arm threads thoroughly after removing the old fixture. Remove old plumber’s tape and mineral deposits using a wire brush or steel wool. Clean threads ensure proper sealing with your new shower head.
Installation Process
Wrap the shower arm threads with fresh plumber’s tape, moving clockwise around the threads. Apply 2-3 layers for optimal sealing without over-wrapping, which can cause cracking or poor connections.
Thread your new shower head clockwise onto the prepared shower arm. Hand-tighten initially, then use wrenches for final positioning. Avoid over-tightening, which can damage internal components or create leaks.
Position the shower head to your desired angle before final tightening. Most quality shower heads allow rotation for optimal spray direction. Make these adjustments while connections remain slightly loose for easier positioning.
Testing and Troubleshooting
Restore water pressure gradually after installation completion. Turn on your main shutoff valve slowly to avoid pressure surges that might damage new connections. Monitor all joints carefully for signs of leaking during initial water flow.
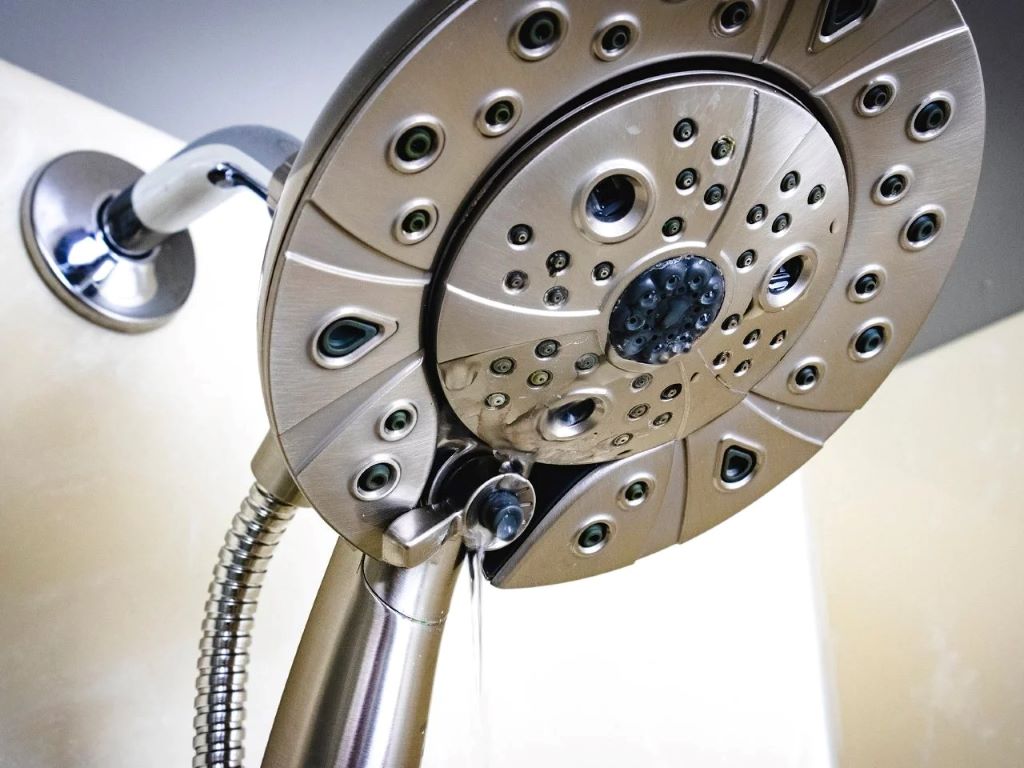
Test various spray patterns and water pressure settings to ensure proper operation. Quality shower heads should provide consistent water flow across all available settings. Irregular patterns may indicate installation issues or defective products.
Address any leaks immediately by checking connection tightness and tape application. Minor seepage often resolves with slight adjustments to threaded connections. Persistent leaks may require complete reinstallation with fresh sealing materials.
According to This Old House, proper installation techniques prevent most common shower head problems and ensure long-lasting performance.
When to Call Professionals
Certain situations require professional plumbing assistance. Complex valve replacements, pipe modifications, or pressure balancing adjustments exceed typical DIY capabilities. Additionally, homes with older plumbing systems may have unique challenges requiring expert knowledge.
Water damage risks also justify professional intervention. If you’re uncomfortable with any aspect of the replacement process, hiring qualified plumbers protects your investment and prevents costly mistakes.
Professional installation often includes warranties covering both labor and materials. This protection provides peace of mind and ensures proper resolution of any future problems. The Spruce emphasizes the importance of professional consultation for complex plumbing projects.
Maintenance Tips for Longevity
Regular maintenance extends shower head lifespan significantly. Clean mineral deposits monthly using vinegar solutions or commercial lime scale removers. Remove and soak detachable shower heads quarterly for thorough cleaning.
Inspect connections periodically for signs of wear or leaking. Early detection prevents major problems and water damage. Tighten loose connections promptly, but avoid over-tightening that might damage threads or internal components.
Consider water softening systems if hard water affects your area. Soft water reduces mineral buildup and extends fixture lifespan. This investment pays dividends through reduced maintenance requirements and longer replacement intervals.
Conclusion
Replacing a shower head with a broken shutoff valve presents manageable challenges with proper preparation and techniques. Understanding alternative shutoff methods ensures safe working conditions while preventing water damage. Whether using main line shutoffs or professional valve replacement, success depends on careful planning and quality materials.
The key lies in patient preparation and systematic execution. Taking time to gather proper tools, understand your specific plumbing configuration, and follow proven installation techniques leads to professional-quality results. Remember that some situations warrant professional assistance, particularly when dealing with complex valve issues or older plumbing systems.
Frequently Asked Questions
Can I replace a shower head without turning off water? No, attempting shower head replacement without shutting off water creates significant flooding risks and makes proper installation nearly impossible. Always use main shutoff valves when fixture-level controls fail.
How long does it take to replace a shower head with valve problems? Typical replacement time ranges from 30 minutes to 2 hours, depending on valve issues and chosen solutions. Professional valve replacement adds 1-2 additional hours but provides long-term reliability.
What tools do I need for shower head replacement with broken valves? Essential tools include adjustable wrenches, plumber’s tape, pipe thread sealant, towels, and buckets. Safety equipment like glasses and non-slip shoes prevents accidents during installation.
Should I replace the shutoff valve when changing shower heads? Consider valve replacement if the current valve is over 10 years old, shows signs of corrosion, or operates poorly. New quarter-turn valves offer superior reliability and easier operation.
How do I know if my shower head replacement was successful? Test all spray patterns at various pressure levels while checking for leaks around connections. Proper installation provides consistent water flow without dripping or irregular spray patterns.
Read More: